Tuesday, April 26, 2011

My Jewelry is now being sold at.......

So I have broken free from only selling my jewelry online and on consignment. You can now buy my jewelry at Maine Heritage Village located on 506 Old Bath road(RT 1) Wiscasset. The shop is wonderful selling a little of everything. A lot of Maine Made products, baked goods and gift items. There is a restaurant, play area and many thing for locals and travelers alike!

I have not been blogging much lately, but I have been busy! Check out some of my newest creations..........
Tribal Newgrange Inspired Earrings
Geared Up Princess Steampunk Necklace
  

Monday, April 11, 2011

Katwise- Artisan Feature

I was browsing Etsy a few weeks back and fell in love with Katwise Sweater Coats. Her style, unique designs and her fearless use of color. Plus her sweeter coats are upcycled! I had to have her featured! So I contacted her and she humored me by answering my questions:) So here I am sharing one of my newest favorite artist/artisans with you.


How did you name your business?


Katwise was my nickname when I was younger. I never realized I was naming my business Katwise, it just sort of happened. I am glad that my business name is the same as my name, because I like feeling that what I offer to customers is personal and part of me.


How long have you been sewing for?


I have been altering clothes since I was a small child, but I didn't officially learn how to make nice clothes from scratch until I was 15. At that age I started travelling around to festivals and selling patchwork dresses. So, I guess that means that now, I am in my 20th year of selling my clothes!


When or how did you find your style for creating such unique wearable art?

I have always been a circus gypsy girl at heart and my roots are in the hippie scene. My style is very personal and organic and it has evolved slowly with me over the years. If you lined up photos of everything as time progressed, it would be like one of those flip books of slow changes. I had a big leap forward when I discovered sewing with knits -because the ease and speed of working with stretchy fibers leaves more time for the creative, colorful part, and less time on fussing with details.So, my current incarnation (making sweater coats) really encapsulates a lot of my colorful exuberance and slapdash nature.

What inspires and influences your work?


I work with recycled sweaters, and very often it is the sweaters themselves that inspire me - I will see a pile of them and notice certain colors calling to me, and take it from there. 
There are some artists who I am very inspired by, though they are not necessarily clothing makers. Lately I have been obsessed with Tony Duquette, Hunderwasser, and Gaudi. 

What do you do when your not creating?


Last year my boyfriend and I bought an old farm that was a total wreck, but very cute. So, we are constantly working on it. There is never a day off. It has been painted a million colors and bedazzled like a princess. We aim to make jaws drop.

What is your favorite piece(s) that you have created?


My favorite is always my most recent. Just yesterday we finished making this insane built in kitchen cabinet/counter that is all shades of teal with crazy mosaic, fancy trim, mirrors and baubles. I can't stop staring at it. I cant believe this thing lives in my kitchen now! It looks like a huge green wedding cake.

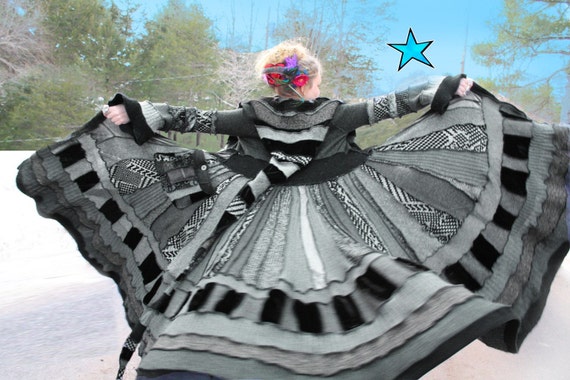
What do you feel is special about your art/craft?


I never take myself too seriously - and I think that keeps my work flowing freely and my expression genuine. A lot of times when people are trying to make art a living they end up trying to meet others expectations, or getting so self-reflective that they lose perspective. I think I have a healthy sense of humor and detatchment about what I do and the ability to embrace my many shortcomings as an artist. It is my hope that when people look at what I do they can feel that it came from a genuine place. I want the intentions I put into things to resonate with people, so they aren't just buying an object, but a little chunk of happy energy.
.
Are there other forms of art and crafts you would like to learn? And why?


I would like to learn the art of meditation. I am such a workaholic that the only way I am gonna calm down is if I can do it obsessively. Life is long, that day will come. :-)


Where to find Katwise 
Katwise on Facebook
Katwise on Etsy

Wednesday, April 6, 2011

Pricing your work

Pricing your work can be a hard and tricky thing. You
don’t want to price your work too high and end up not selling anything or very little. And on the other hand you don’t want to price your work too low devaluing your work and not making enough profit. It is important to check the market and find out what similar items sell at. Compare those prices with your material costs and labor and see how you compare. But this is to just give you a ball park figure of similar items or a range you might want to be in. In the end it is always up to you what you price your products at.

Here’s a few basics that I use……

Set a rate for your time but be competitive,  reasonable and flexible. Some projects that take a lot of time might need a minor price adjustment if you feel it is to expensive. Some quick projects(in my case most my earrings) I have to set a minimal  of 15 minute for time because they only take a few minutes to make and few materials. In the end it balances out for me and for other artist and artisans I have talked with about time and pricing. Some might disagree with adjusting your labor charges on timely projects and so be it, I am not telling you how to price your work just giving tips that have helped me.

Keep track of your cost for materials. This can be a challenge in itself, more so if you order a lot at once. I take a few extra minutes when checking a new order to write the price on each package of beads if I feel I will not remember. Charge for all your materials remember this is money you already have invested in the product. What about the small things crimp beads, glue, string, paint that are purchased in larger quantities and used a little at a time? I just  add a small figure to the total price depending on the project. It could be .20 cents or a few dollars.

Do not forget overhead cost. Over head cost are not just for people who have separate studios and shops from there homes. We still pay for listing online, packaging, shipping(if you offer free shipping), business cards, thank you notes, paper, ink, computer, gas for getting materials and to the post office and so on. You should figure an amount or percentage for over head cost into your pricing it is part of your finished product and services.

Here is an example of my pricing……………

Item                                                  Cost
1 hour labor                                       15.00
Beads                                                  5.00
Other Materials wire etc…                      .50
Overhead                                             1.00
Final cost                                           21.50

I hope this is useful in helping you find your own way to price your work.

Here is a Etsy Treasury I put together this week......

'Trees for any season' by KindredImages

Trees inspire with their contest beauty. Here is a treasury of trees featuring fellow Mainers from the Etsy Maine Team


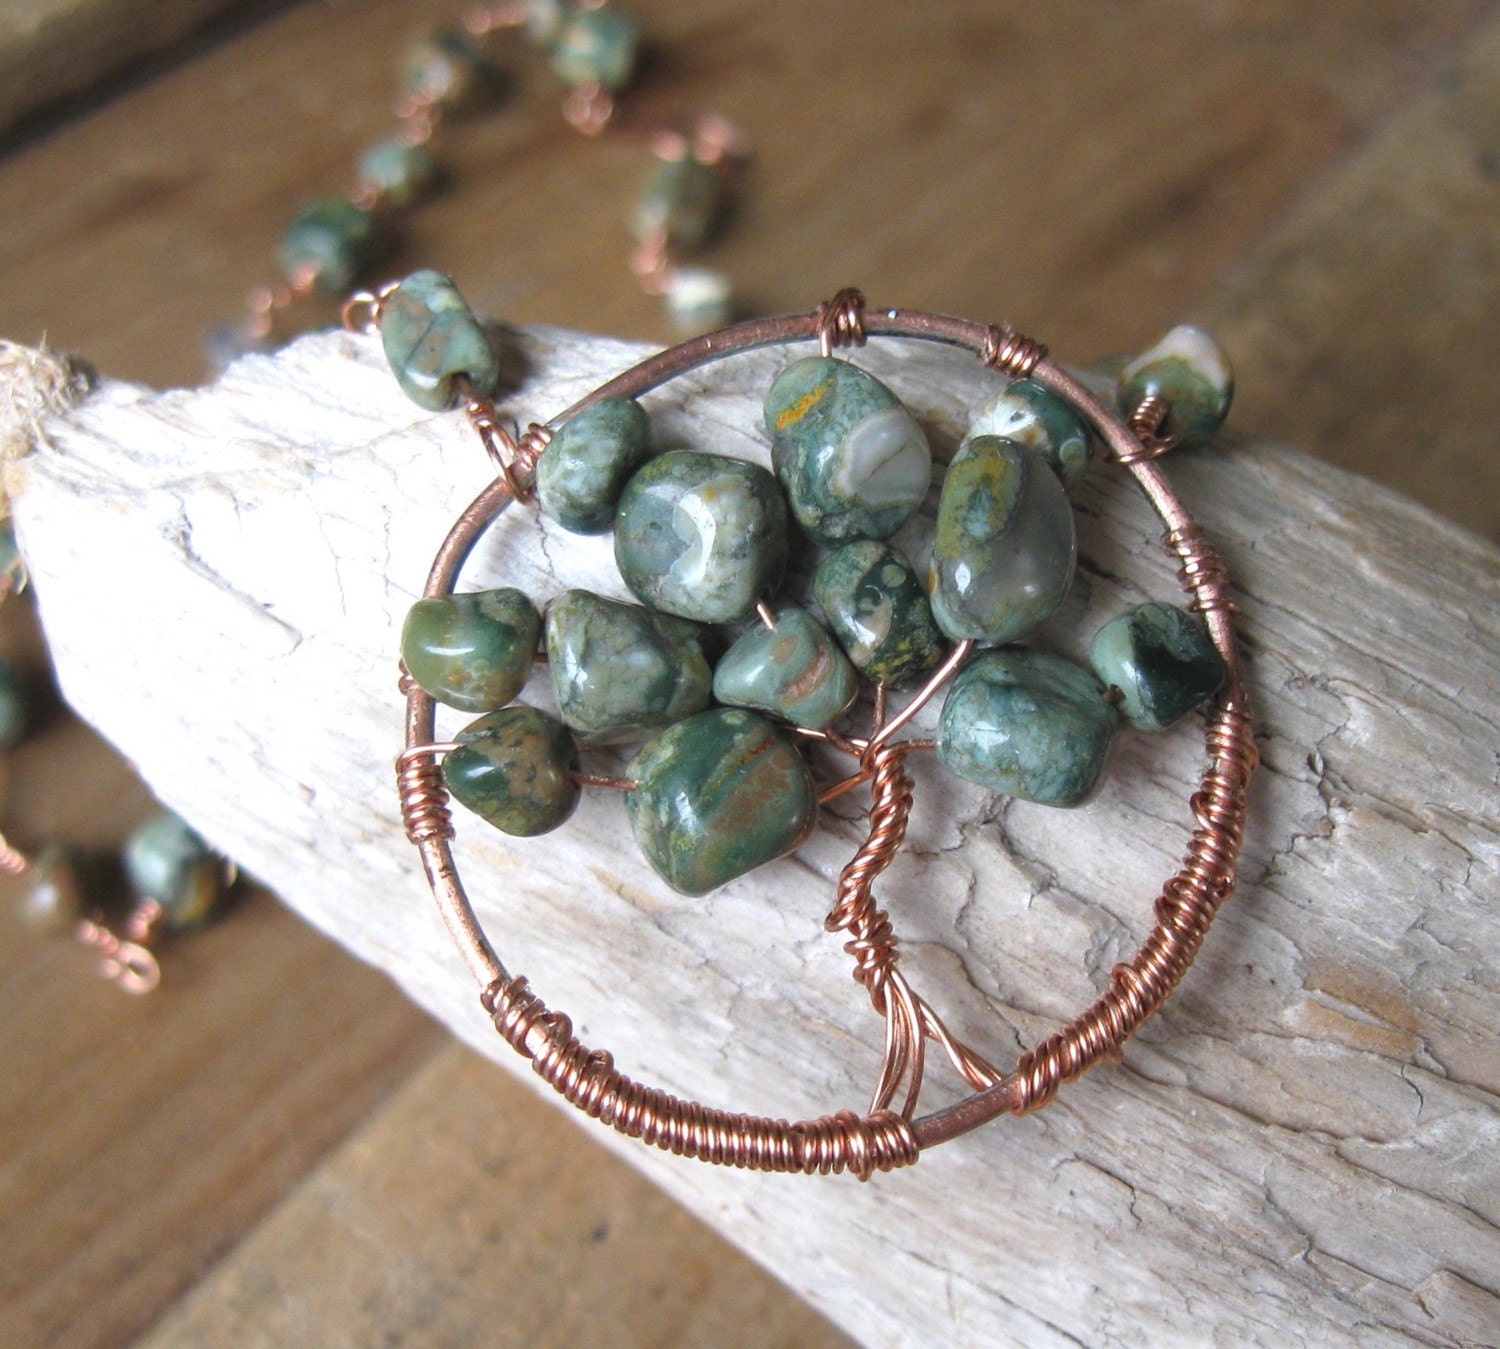
Rainforest Japser -...
$75.00
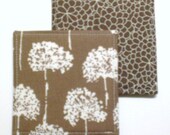
Set of 4 Reversible...
$15.00

Cherry Blossom Tree...
$5.00

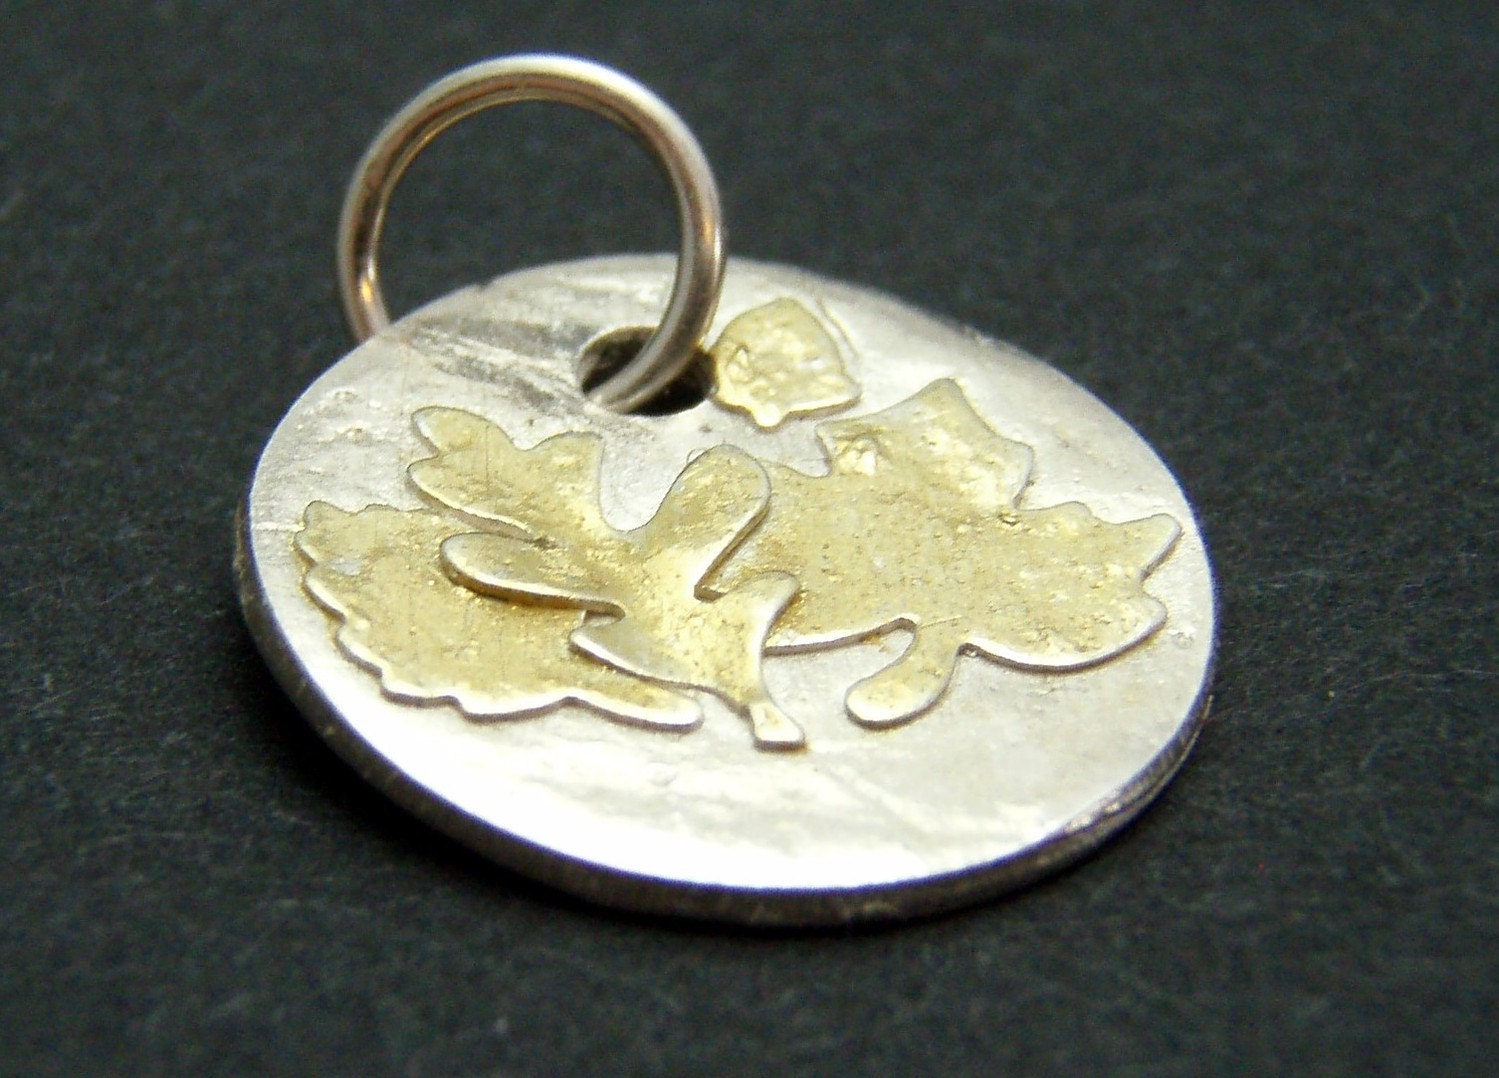
Gold Leaf Pendant/C...
$35.00

Fine Art Photograph...
$20.00

Framed Original Oil...
$525.00

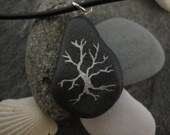
Spring Sale 10% OFF...
$25.00

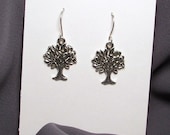
Tree Sterling Silv...
$3.98
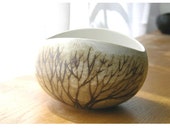
Large Serving Bowl ...
$200.00

Sunset - 5x7 matt...
$12.00

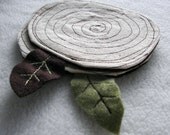
Stump Coasters (set...
$10.00

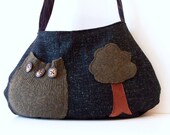
Upcycled Wool Tree ...
$35.00
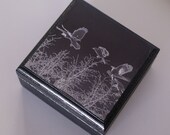
Crows in Chrome Tri...
$7.00

Birches and Blue Sk...
$22.50

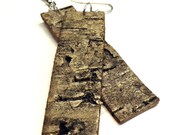
Birch Bark Earrings...
$24.95

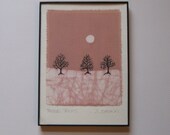
Framed 5 x 7 Batik ...
$25.00

Tuesday, April 5, 2011

I was featured in Zoomgraphiks blog.

Thank you for the feature! Take a look at her blog Work from my friends on FB - Zoomgraphik she also featured other talented artisans, and she her self is very talented.

Monday, April 4, 2011

My Twisted Crochet Jewelry-Wire Crochet Part 1

Time needed 45min-1 ½ hours+
Skills need for this project             
Supplies needed
  • Size  E/4, 3.50mm(same size just depends where your from)
pic 1
Materials needed
  • 26 or 28 gauge wire(preferably on spool)
  • 16-24 inched worth of beads
  • clasp
pic 2
pic 3
I have been working on wire crochet a lot lately and would like to share a project with you. Using wire is a bit trickier to get the hang of then yarn but technique is exactly the same. I have been making bracelets and necklaces by making a crochet chain and twisting it together. First pick your materials(pic 1), today I am using 26 gauge copper wire, 3-4mm light peach freshwater pearls, cream seed beads and a handmade copper hook clasp. How many beads depends on the size of the beads your using and the length of the jewelry piece, the size of your crochet hook and stitch so basically I use my best judgment. For necklaces I normally only fold the strand over once so I am only twisting 2 together but with bracelets I like to fold the chain twice giving me 3 to twist together. For this Necklace I stung on 16in worth of beads but it is better to have more then not enough.


pic 4
pic 5
Start by stringing your beads on the spool of wire(pic 2). Leaving an 6-8 in tail of wire make a small loop in your wire to start your crochet chain make one chain stitch, then grab a bead and put it snuggly up to your work(pic3) and make your next stitch. Continue this step until you reach your desired length, check your neck(for necklace) or wrist(for bracelet) to size it correctly. If you are planning on twisting 2 lengths together then make sure it wraps around twice, 3 lengths make sure it wraps around 3 times and so on. You do not even need to wrap it I have several necklaces that are just beaded crochet chain and I love them.  Now it is time to twist, twist, twist. Fold your length of chain equally for your project, since I am making a choker out of 2 strands I only fold it once and start lightly twisting it(pic 4). How much you twist it is up to you. Finally it is time to finish. Using the wire tail attach one side of your clasp by wrapping your wire around it(pic 5), then cut about 4in piece of wire(if you decide to do 3 strands and fold it twice you will have a tail at both ends and will not need to cut an extra piece of wire as long as you leave a tail at both ends) and wrap the other end of the clasp to the other end of the necklace. Trim and tuck the wires in so the do not snag or scratch. And your done.This easy style has so many options and can vary so much depending on wire, beads, size of hook, size of stitch, how many times you fold it and how much you twist  it. Have fun with it!
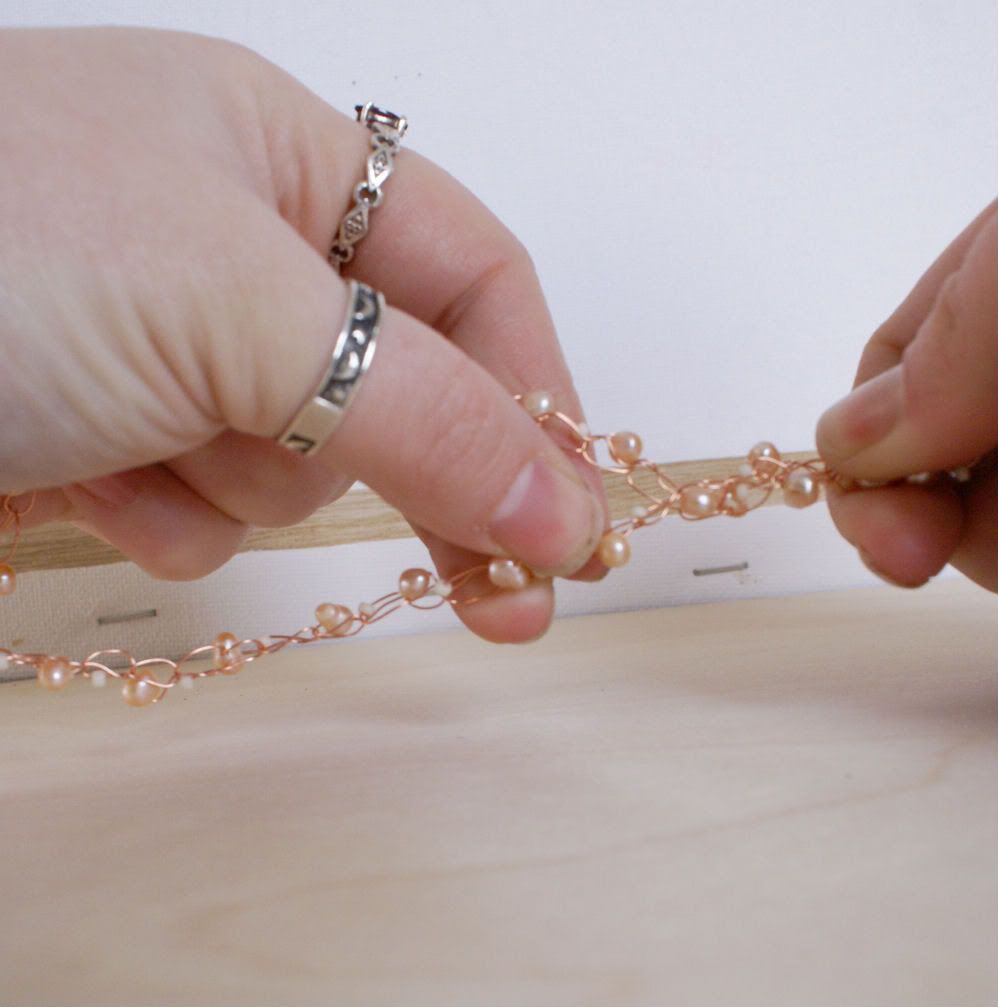
Custom order I made using this
technic, copper and freshwater pearls.
I made both this bracelet and a macthing
necklace for her wedding day! FUN
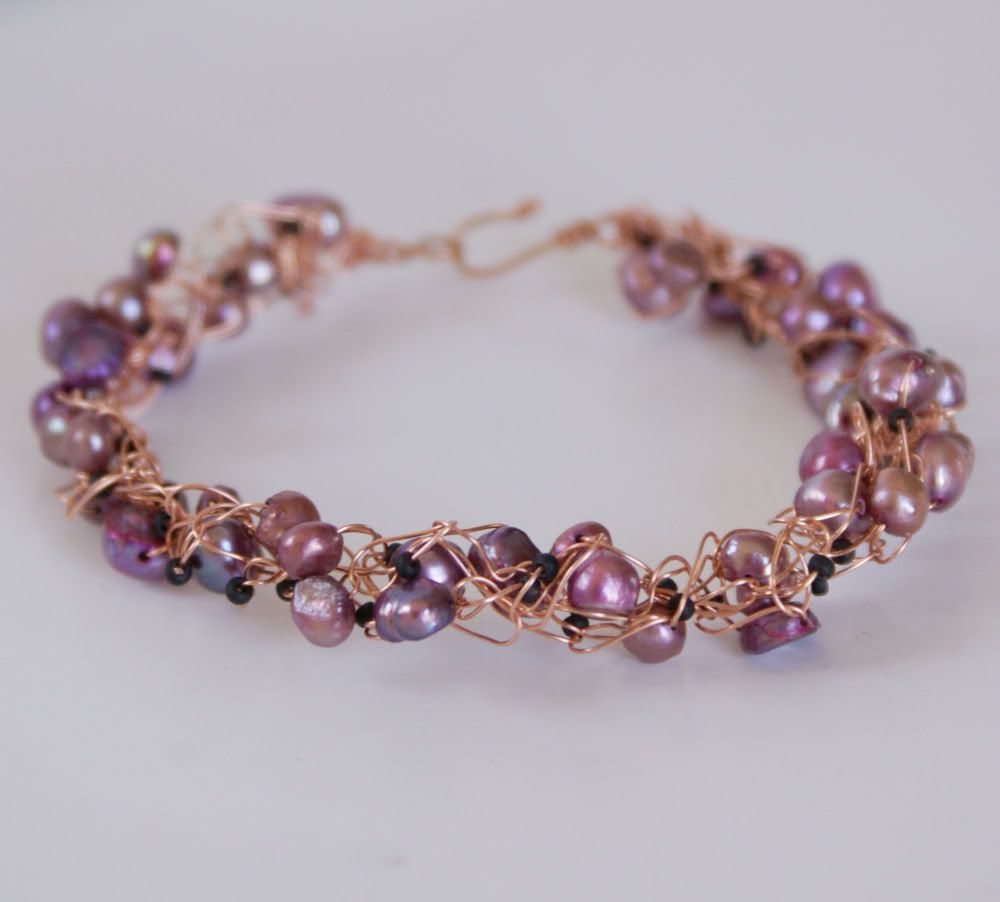

Finished project
Bracelet Made with garnet and copper
For sale in my shop
Necklace made with freshwater pearls and  copper
 for sale in my shops

Pin It

Related Posts Plugin for WordPress, Blogger...