Time needed 45min-1 ½ hours+
Skills need for this project
Supplies needed
- Size E/4, 3.50mm(same size just depends where your from)
 |
| pic 1 |
Materials needed
- 26 or 28 gauge wire(preferably on spool)
- 16-24 inched worth of beads
- clasp
 |
| pic 2 |
 |
| pic 3 |
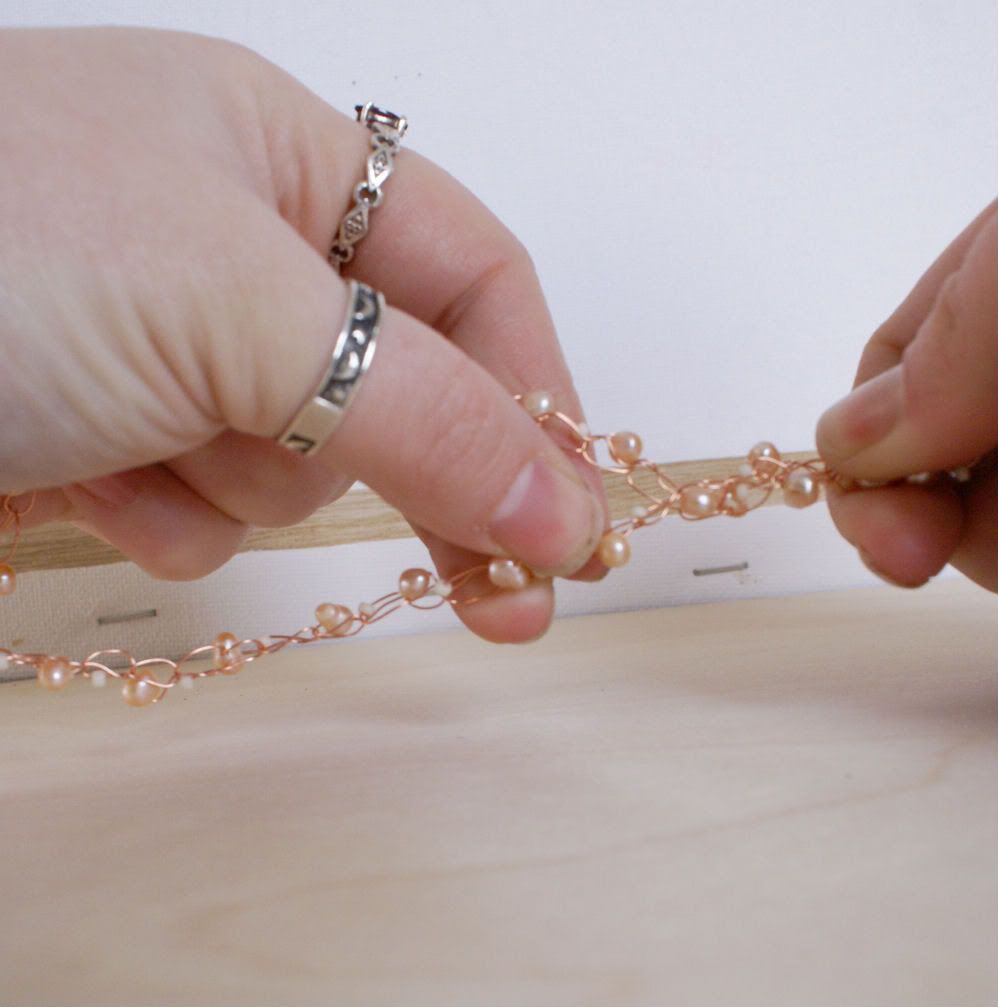
I have been working on wire crochet a lot lately and would like to share a project with you. Using wire is a bit trickier to get the hang of then yarn but technique is exactly the same. I have been making bracelets and necklaces by making a crochet chain and twisting it together. First pick your materials(pic 1), today I am using 26 gauge copper wire, 3-4mm light peach freshwater pearls, cream seed beads and a handmade copper hook clasp. How many beads depends on the size of the beads your using and the length of the jewelry piece, the size of your crochet hook and stitch so basically I use my best judgment. For necklaces I normally only fold the strand over once so I am only twisting 2 together but with bracelets I like to fold the chain twice giving me 3 to twist together. For this Necklace I stung on 16in worth of beads but it is better to have more then not enough.
 |
| pic 4 |
 |
| pic 5 |
Start by stringing your beads on the spool of wire(pic 2). Leaving an 6-8 in tail of wire make a small loop in your wire to start your crochet chain make one chain stitch, then grab a bead and put it snuggly up to your work(pic3) and make your next stitch. Continue this step until you reach your desired length, check your neck(for necklace) or wrist(for bracelet) to size it correctly. If you are planning on twisting 2 lengths together then make sure it wraps around twice, 3 lengths make sure it wraps around 3 times and so on. You do not even need to wrap it I have several necklaces that are just beaded crochet chain and I love them. Now it is time to twist, twist, twist. Fold your length of chain equally for your project, since I am making a choker out of 2 strands I only fold it once and start lightly twisting it(pic 4). How much you twist it is up to you. Finally it is time to finish. Using the wire tail attach one side of your clasp by wrapping your wire around it(pic 5), then cut about 4in piece of wire(if you decide to do 3 strands and fold it twice you will have a tail at both ends and will not need to cut an extra piece of wire as long as you leave a tail at both ends) and wrap the other end of the clasp to the other end of the necklace. Trim and tuck the wires in so the do not snag or scratch. And your done.This easy style has so many options and can vary so much depending on wire, beads, size of hook, size of stitch, how many times you fold it and how much you twist it. Have fun with it!
 |
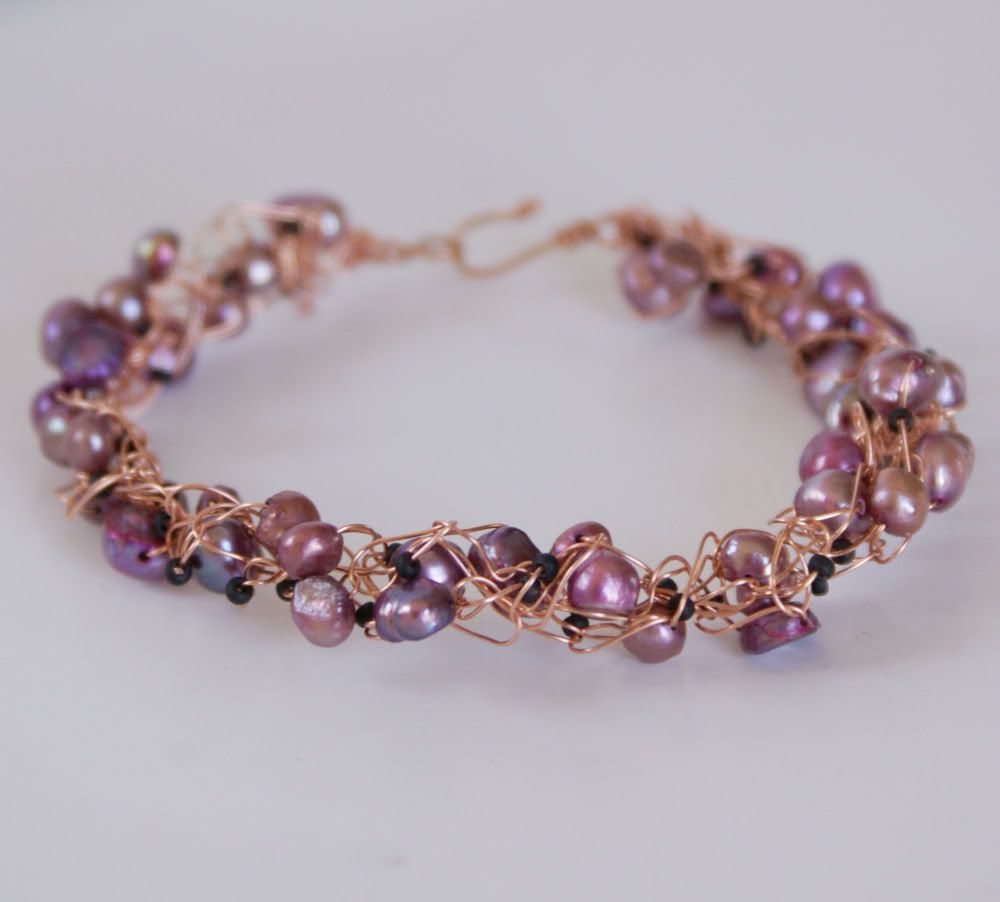
Custom order I made using this
technic, copper and freshwater pearls.
I made both this bracelet and a macthing
necklace for her wedding day! FUN |
 |
| Finished project |